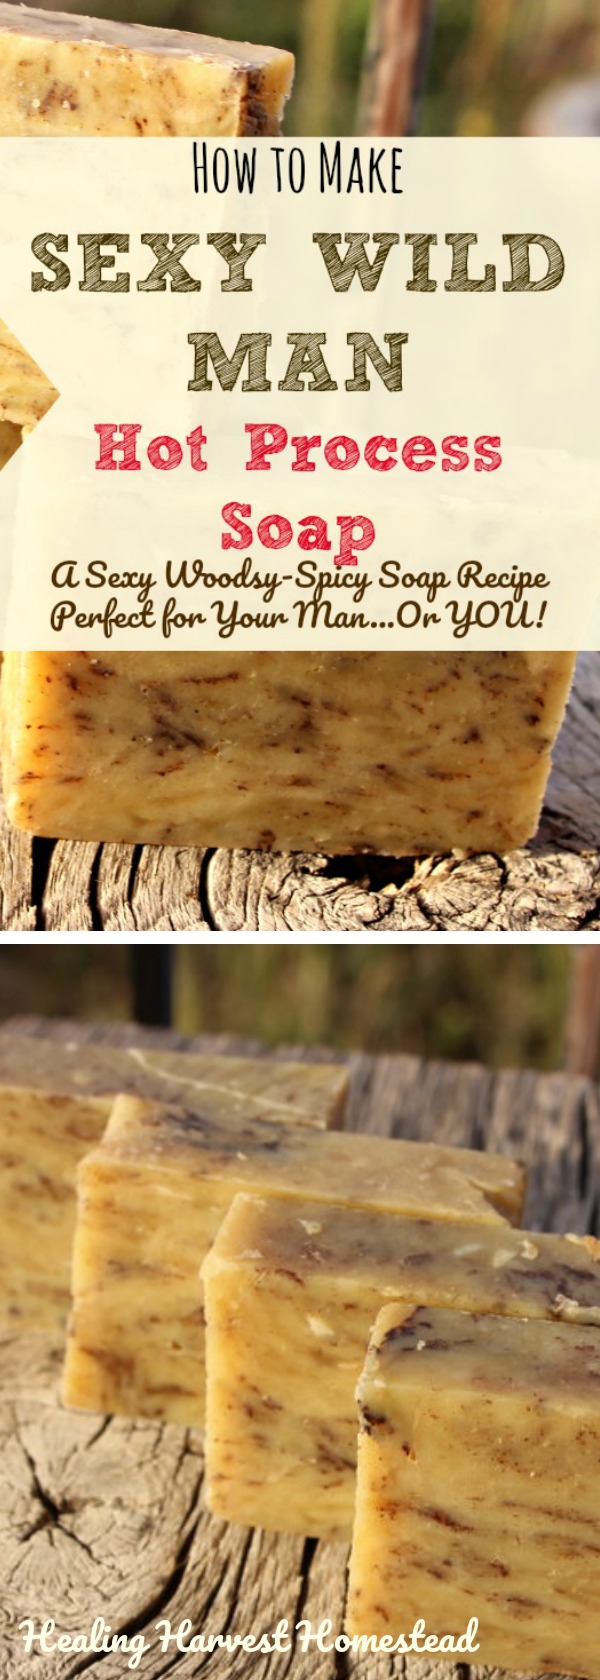
Sexy Wild Man Hot Process Soap...A Handmade, Natural Soap Recipe Tutorial
Here is a handmade soap recipe that is a real winner! It’s one of my most popular natural soaps, and men just LOVE it. (I haven’t met one who didn’t, anyway.) This hot process recipe combines cedar, cinnamon, and a touch of lemongrass for a deep, delicious, unisex, seductive scent you….and your man….will love!
Have you ever wanted to make something nice for your man and just couldn't think what on earth to do? That's a pretty common problem. In fact, if you are interested in a solution, here is a thorough Perfect Gift Guide for Your Manly Man! It’s an ultimate guide for every single type of man imaginable!
But in the meantime, perhaps you’ve thought about making your special guy his own manly soap? This recipe is PERFECT!
This handmade soap recipe is incredibly moisturizing and lathers up super well. It's colored with spices that give it a nice masculine, rustic appearance, and the essential oils in this soap blend are woodsy-spicy. I have seriously NOT met a single man who doesn't like this soap (or woman either, for that matter). So...here you go!
Enjoy!
I love making hot process soap because guess what? You can use it pretty much right away! Like...the next day! This method of making soap doesn't require the long curing time that cold process soap takes.
I'm not going to go into a great deal of detail about the entire process in this article, because you can find a complete picture tutorial on making hot process soap in my article HERE.
Or, if you’d rather watch some very cohesive videos to make sure you’re making soap safely and correctly, take a look at my Natural Hot Process Soap Making online course. You’ll be making soap confidently right away.
**IN FACT, you can get a FREE printable copy of my Hot Process Soap Making Checklist & Basic Instructions that will help keep you on track through the process. It’s a life saver! You can get it at the end of the article.
If you’d rather not deal with lye in making handmade soap, you can use the scents and colors in this recipe to make an amazingly easy melt and pour option. You can also find out how to make your own soap without using lye right here.
FTC Disclosure: There are affiliate links scattered around this article for your convenience. If you click through and make any kind of purchase, I may earn a very small commission at no extra cost to you!
I've been making my Sexy Wild Man Hot Process soap recipe for a very long time because it's a favorite of so many people! The name is just cute, but this soap packs a serious aromatherapy punch! The Cedarwood calms and motivates, the cinnamon is warming and spicy, and the lemongrass uplifts your soul! You’ll love this natural handmade manly soap recipe! #soap #hotprocess #meltandpour #manly #formen #natural #easy #herbal #healingharvesthomestead
How to Make Sexy Wild Man Hot Process Soap:
This soap recipe makes a large, three pound batch, which fits nicely into a standard 10 inch rectangular soap mold. You will have a bit of a “top,” but I like to use this portion to make soap balls. By doing this, your soap bars will also have a nice smooth top. You can find out more how to do this in my course, if you like.
Ingredients for Sexy Wild Man Hot Process Soap:
Oil Mixture:
15 ounces of organic olive oil (Costco seriously has the best price on organic olive oil I have found)
15 ounces of organic coconut oil (I get mine from Costco)
12 ounces of almond oil
6 ounces of Shea Butter
1.5 ounces Castor Oil
Lye Solution:
15 ounces of filtered, bottled, or distilled water
7.2 ounces of food grade sodium hydroxide
Essential Oil Blend: 1.5 ounces of Cedarwood (Texas), 1 ounce of Cinnamon, .5 ounce of Lemongrass (I get my essential oils for soap making HERE)
1 tablespoon of Safflower powder (optional---it adds a little color) Starwest Botanicals
2 tablespoons of ground Cinnamon (for exfoliation and a little extra color) I get all my herbal and culinary powders and spices from Starwest Botanicals.
Tools You Will Need:
1) A crockpot dedicated to soap making. Some people have their crockpots do double duty between food and soap. I'm just not comfortable with that, so I have two dedicated soap crock pots. I use the large ones (this is a 3 pound recipe, so you will definitely need a large crockpot).
2) An immersion blender to bring the oil and lye solution to trace. This is important. If you don't have an immersion blender, you will probably be stirring for hours instead of just 5-10 minutes, max.
3) Wooden Spoons for stirring
4) Glass Pyrex large measuring container to hold the lye solution
6) Kitchen Scale---This is a MUST have when making soap. Your measurements must be accurate to within a hundredth of an ounce for best results. Since you are working with lye, it's best not to be off.
Ready to make handmade, creative, natural soap? Click here to learn more!
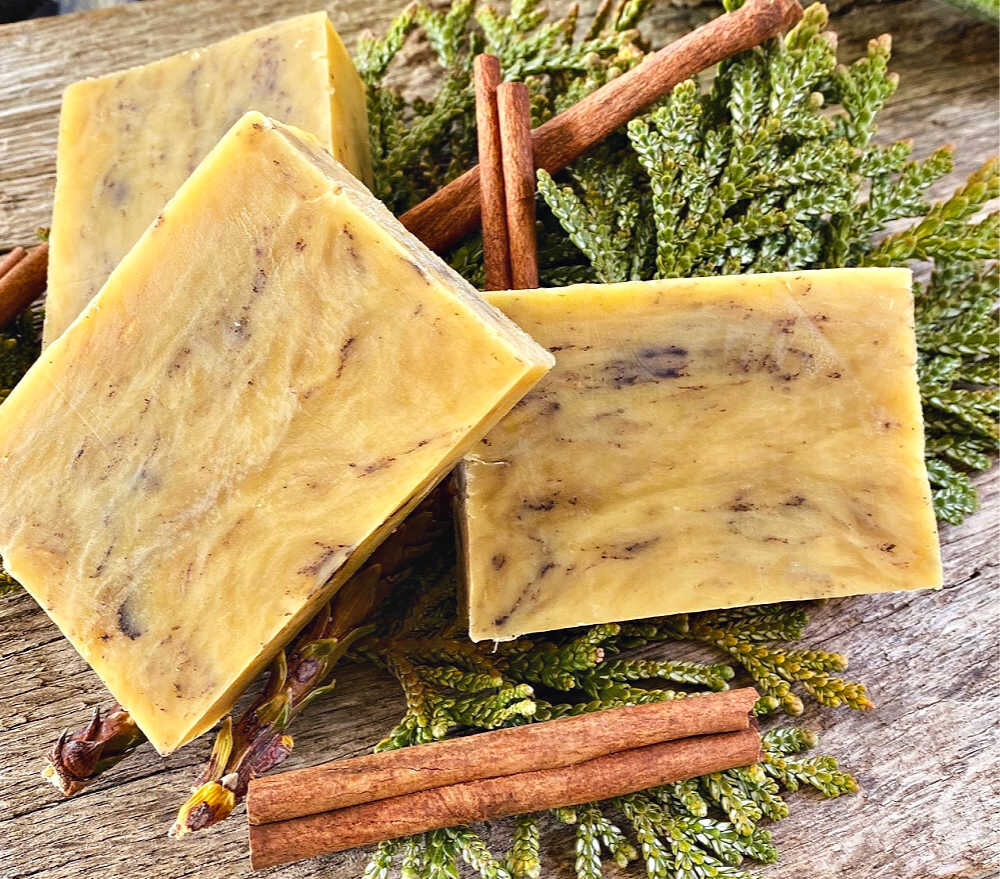
Besides smelling absolutely divine, isn’t it pretty?
Directions for Making Sexy Wild Man Hot Process Soap:
These are very basic directions. For a full tutorial with lots of pictures on how to make hot process soap, please see my article HERE.
Keep in mind that making soap using lye (sodium hydroxide) is potentially very dangerous!
Be sure to wear gloves and eye protection because lye is extremely caustic and can burn! Please read the article linked above and do some extra research if you are new to soap making.
Step 1:
Get your lye solution going. Measure out your water into a pyrex glass measuring container. I use one that is completely dedicated to making soap. Then pour your lye slowly into the water and mix well. I do this outside because making the solution creates fumes that can be dangerous. PLEASE BE SURE TO WEAR YOUR GLOVES AND EYE PROTECTION! I also wear long sleeves.
NOTE: It is VERY important to pour the lye into the water and not the other way around. If you pour water on top of the lye, you may end up with a caustic volcano.
For this and other potential soap making mistakes, please take a look at this article.
Also, the solution will be quite hot at first! Since you are making hot process soap in this tutorial, though, you don't need to worry about it being a certain temperature before using it. Just be aware that it is HOT.
Step 2:
Now get your oils into the crock pot. Use the LOW setting. During the winter time the coconut oil and the shea butter will be solid, so you'll need some time to have them melt down.
Step 3:
Once the oils are melted together, go ahead and add your colorant---in this case, 2 tablespoons of Safflower Powder! If you don't have Safflower powder, you can just go colorless or add 1 tablespoon of Turmeric for a golden color. Annatto powder will work fine, too, but go easy on that because it can get VERY orange fast.
Step 4:
Once your oils are melted and you have added your herbal powder for color, gently pour the lye solution into the oil. Using your immersion blender (BE SURE YOU HAVE YOUR GLOVES AND EYE GEAR ON!), mix, mix, mix all together until it comes to trace. This simply means it looks like pudding with a gentle peak. It's better to be a little too firm than too soft, if you are in doubt.
Step 5:
Now just put the lid on and continue "cooking" the mixture. Be sure to keep an eye on it, because as the chemical reaction starts taking place, it will "grow". It's pretty cool! At this point STIR, STIR, STIR it down. After the first stir, you don't need to watch it so carefully. You'll be stirring it a couple more times. Don't be afraid to stir it down often if you want. (GOT YOUR GLOVES & GLASSES?)
Learn to make all kinds of beautiful, lovely, natural handmade soaps using a variety of herbs, clays, and textures in my online Natural Soap Making course (with focus on the hot process method).
Step 6:
You'll see the soap going through some different stages, until it reaches a rather translucent waxy stage, kind of like vaseline. There should be NO opacity in the mixture---it should be translucent. Once you get to this point, you can give it the ZAP test.
Taking some off your wooden spoon, roll it around between two fingers. It should feel like warm wax. Once it is cool enough, touch this to the tip of your tongue. If you feel a zap, it's not ready yet!
Personally, I like to over cook it a bit to be sure I don't get zapped. I had a batch once, where I forgot to put in the almond oil, and I couldn't figure out why it wasn't completely saponifying (turning into soap). I kept getting zapped! Trust me, it's not too enjoyable. You'll definitely know if it's not ready or if you did something wrong.
Step 7:
Turn off the crock pot, and let it sit for just a minute or two with the lid off before pouring in your essential oils. Then stir, stir, stir them completely into the batch. After this, go ahead and pour a couple of tablespoons or so of the Cinnamon in and just stir it around a bit. I like chunks of dark color, so I don't go too crazy trying to mix it in super well. That's up to you, though!
Step 8:
Pour the mixture into your soap mold. Actually, you'll be using a wooden spoon to glop it in. Then press it in well with your spoon. I'll use my hands on the top to press even further. You don't want air pockets, and you want the soap to completely fill in the corners of the mold.
Step 9:
Let it cool completely for several hours. If you have a "top" like a loaf of bread, which may happen if your mold is too small (like mine are), you can cut the top off after about 45 minutes and form this portion into balls---soap balls! Let them cool.
After your soap is completely cooled down, take it out of the mold and let it sit overnight or for a few more hours. You can cut it as you need it, and this will actually help it stay fresh and smelling great longer too! OR, if you want to, go ahead and cut it into bars.
I usually let my hot process soap cure for a day or two before using it. You don't have to do this, but it just helps with further evaporation in case it's a bit moist. Otherwise, it's just fine to use right away! That's one reason I love hot process soap making. I guess I'm impatient!
The cedar, cinnamon, and lemongrass scents combine for the most delicious scent…..
About the Curing Time
So, hot process soap doesn’t really need a cure time….not exactly, anyway. Wanting to make my brand new soap right away, I often will use it the very same day as I make it!
But after doing lots of experimenting on (mostly) hot process and some cold process as well, I’ve learned these things:
Cure time is mostly about reducing the moisture in the soap through natural evaporation
Hot process soap cures out two to three times faster (in my notations) than cold process does, and sometimes cold process doesn’t cure out completely at all. I came to this conclusion by weighing soap bars made with the same recipe.
I did not take humidity of the environment into consideration, so my experiments are completely anecdotal.
Even though you don’t “need” to cure hot process soap, if you cut it and let it sit for a week or two, you will have harder bars of soap as the excess liquid naturally evaporates. This is ideal if you are selling your soaps, but not completely necessary.
Do not use a dehydrator to hasten the process. Just trust me on this. You’ll get a sub-par product.
Final Thoughts on Sexy Wild Man Hot Process Soap
This soap recipe has been a real winner and money-maker for me for several years now. It’s a deliciously warm and soothing scented soap your man (and you) will absolutely love. I hope you’ll give it a try!
And if you do, write in and let me know how it goes! I love hearing about your experiments and soap happenings. So be sure to leave a comment in the comments section for us all!
For other soap making articles, you might enjoy these:
Hot Process vs. Cold Process Soap: Which is Better?,
Coloring Your Soap Naturally with Herbs and Clays,
How to Make Hot Process Soap, (great picture tutorial),
Spearmint-Frankincense Hot Process Soap (You'll Die & Go to Heaven!).
There are a ton more on the blog, too! And if you are really interested in learning everything to know about making hot process soap, pick up a copy of my Ultimate Hot Process eBook on sale now (also available as a bonus with the online course, Natural Soap Making.
It’s been the foundation for several small soap makers’ businesses at this point (that I’m aware of)!
Have fun with your natural soap making!
Hugs, Health, & Self-Reliance,
Heidi
P.S. Don't forget to Sign up for the Newsletter! You'll never miss a thing AND you'll get access to the growing Healing Harvest Homestead Resource Library! You’ll get immediate access so you can download the Hot Process Soap Making Checklist & Instructions. It’s a life saver! Just fill out this form:
Here are a few bars of this woodsy-spicy soap!
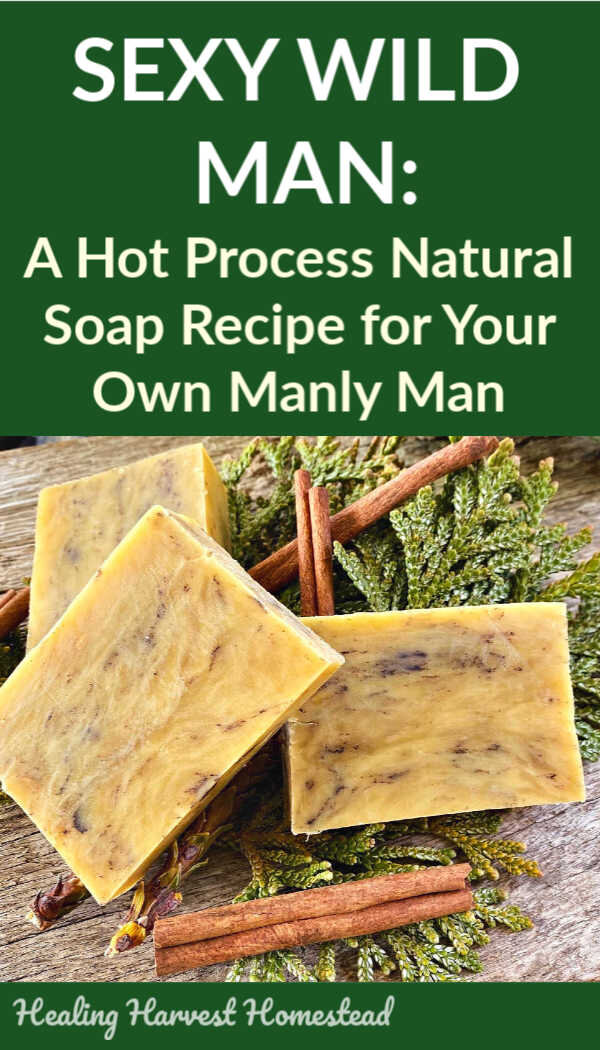
Find out how to make the best handmade soap your man will LOVE! This sexy, natural soap recipe is meant for your own wild man (and you’ll love it too). This hot process soap method is easy, and wow, does it smell delicious! Have you wanted to learn how to make your own handmade soap? How about starting with this easy recipe. It makes the PERFECT gift, too! #handmade #handmadesoap #soap #hotprocess #hotprocesssoap #soaprecipe #naturalsoap #essentialoil #howtomake #healingharvesthomestead


