Gardener's Handmade Soap Recipe (Rosemary, Sage, Mint and Pumice)
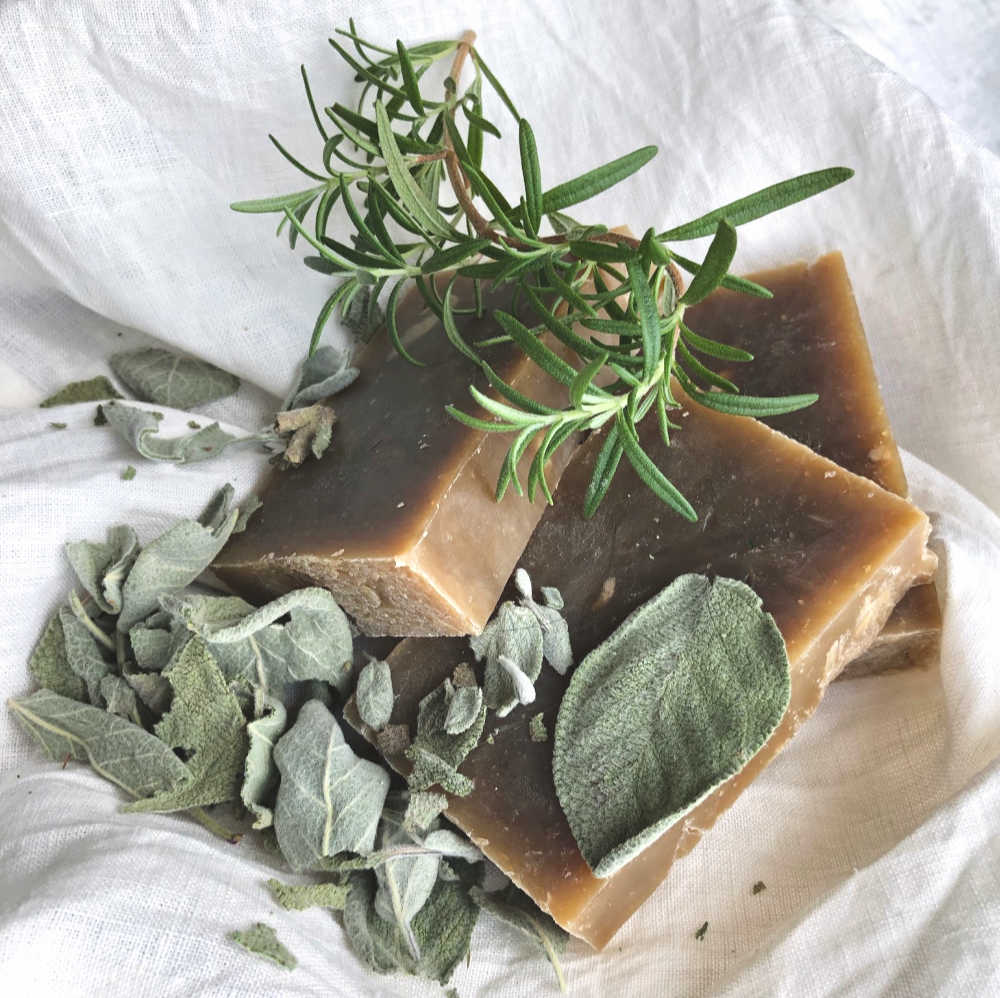
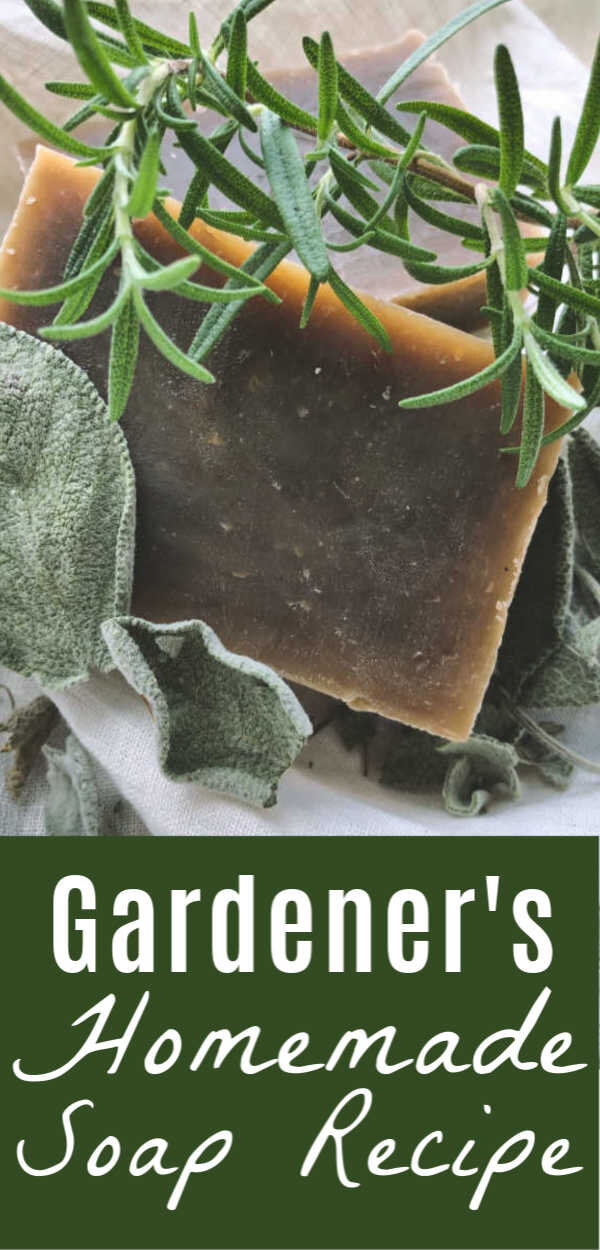
Here ‘s a handmade soap recipe that’s perfect for gardeners and other folks who get their hands dirty. It includes pumice as an exfoliant, and sage for its antimicrobial properties and lovely dark green color.
Is it that time of year again? Time to get your hands into the dirt of the garden….starting seedlings, planting, working with compost, tending plantings, amending the soil, weeding. You know: fun homesteading stuff, right?
Or, maybe you know a few gardeners who’d love a special soap just for their needs. The kind of soap that cleanses, softens, and really works.
It’s NEVER good to walk around with dirt and grime under your fingernails or embedded in the lines of your hands, although I’m guilty of this far too often after a tough day in the garden and hoop house.
If you want to be able to keep your hands clean, you’ll want a good gardener’s hand and body soap.
Pumice is one of my favorite additives in soaps where you want exfoliating power. Other choices you could also add are coffee grounds, ground black pepper, and even oatmeal! You could also consider adding salt at the end of the cook time, which will give your soap a spa experience, and is very good for your skin, like this gorgeous Dead Sea Mud Soap recipe.
I adapted this latest soap recipe from Jan Berry’s Lemon Sunshine Soap in her Natural Soap Making book.
I’ve written about soap making a LOT on the website here, and if you’re new to making soap, you should check out these complete tutorials on making your own hot process soap: Citrus Dream Soap Recipe with the hot process method and Lavender-Rosemary-Vanilla Handmade soap, also hot process method.
Why do I like the hot process method of soap making?
Although I’ve made both cold process and hot process soaps for years, I tend to enjoy hot process soap making better because it’s so fast, and I can see the results right away. Here is an article about the pros and cons of both hot process and cold process soap making you might enjoy if you are wondering about the similarities and differences.
FTC Disclosure: There are affiliate links scattered throughout this article. If you click through and make any kind of purchase, I may earn a small commission at no extra cost to you.
This handmade soap recipe is highly cleansing and perfect for the gardener in your life! It contains antibacterial herbs as well as pumice, and it works like a charm. If you have a gardener you know, he or she will adore this rosemary and mint scented soap using the hot process method! With hot process soap making, your soap is ready right away. #soapmaking #hotprocesssoap #soaprecipe #makesoap #howto #herbalsoap #gardenersoap #handmadesoap #healingharvesthomestead
Recipe for Gardener’s Handmade Soap
Ingredients for Gardener’s Hand and Body Exfoliating Soap
Oil Mixture:
15 ounces Olive Oil (I get my olive oil and coconut oil at Costco, and it’s the best and least expensive option I’ve found.)
7 ounces Coconut Oil
3 ounces Almond Oil
2 ounces Castor Oil
Lye Solution:
10.26 ounces Sage Infused Water (tea)
3.79 ounces Lye
Essential Oils:
1 ounce Rosemary essential oil
0.5 ounce Peppermint essential oil
Texture:
I added 2 tbsp of pumice, but if you wanted an even more scrubby soap, adding fine coffee grounds or black pepper would be nice to help get rid of the dirt and grime even better.
NOTE: The links above are for Amazon for your convenience, and I tried to find essential oil sizes in 4 ounce jars. These are great for soap making, but I wouldn’t use them for therapeutic use. Instead, try Rocky Mountain Oils or Starwest Botanicals (and you can buy in bulk from them too).
Learn how to make your own hot process soap from start to finish. Plus! Experiment with different natural textures, colors, and natural scent blends!
Directions for Making this Soap:
Make sure to take a look at the soap making tutorial I linked to earlier in this article for complete directions. I’m just giving the bare basics here, so if you are a new soap maker, please read through the two posts linked above.
Step 1) Make a sage and/or rosemary infused tea
I used dried sage from our garden last year to make this water infusion. Just add your sage about 1/3 of the way in the jar, then pour just boiled water to within an inch of the top. I used a quart jar, and had plenty of leftover tea. Sage is great for sore throats, if you want to drink up this tea!
The longer you let your tea steep, the darker your soap will be. I let mine go a little too long, as mine turned out a lot darker than I would have chosen. I’d say about 5-10 minutes would be good.
Step 2) The oil mixture
Set your crock pot to “LOW,” and add your oils from the oil mixture section above. Let them melt completely while the tea cools down a bit.
Step 3) The lye solution
Strain off the herbs from the liquid tea. Measure out the water. Then pour your lye carefully into the sage tea. You’ll see some color changes due to the reaction of the alkaline lye, but don’t be alarmed. Stir the lye well into the tea until it’s fully dissolved.
Step 4) The cook
Once your oils are completely melted in the crock pot, gently pour your lye solution into the pot. Get your immersion blender that is dedicated to soap making, and stir to trace. Put the lid on your crock pot, and let it cook.
You’ll have to stir down the soap two to four times during the cooking process, as you’ll see it bubble up. You don’t want it bubbling over. In my experience, giving it a few good stirs helps it cook faster, too.
Step 5) Your additives
When your soap is completely done (read those tutorials to know when), it’s time to turn off the crock pot. I let my soap sit for about five minutes most of the time to let it cool slightly. Then it’s time to add your pumice, oats, coffee grounds, or whatever else you like, along with your essential oils. Stir well until everything is mixed together.
Step 6) Pour
Pour (actually, for hot process, you’ll “glop”) your soap into your soap mold. I like to use silicone molds because they release the soap a LOT better than the wooden molds with parchment paper. Press the soap really well into the corners and everywhere else to be sure you don’t end up with air pockets.
Step 7) Cool
Allow the soap to cool for several hours or over night until it’s completely solid and hard. Remove it from the mold.
Step 8) Cut and enjoy!
You can cut all the bars, or you can allow it to stay in block form, cutting as needed, which is what I do. If you want a really hard bar of soap, cutting the whole bar will help, as will letting it cure for a few more days. However, your soap is safe to use right away if you want!
Click here to learn to make your own soaps! Videos for every step of the way and all you need to know to make truly natural herbal soaps! Plus, get my popular full-size soap making eBook as a special bonus!
Final Thoughts on Gardener’s Soap, and Some Tips
All soap recipes are very different in the making. It’s a good idea to run every recipe you find through a soap calculator. I really like the one over at SoapCalc because it also gives you a rundown of the fatty acids of the oils you’re using so you can make a truly custom soap. The measures in this recipe are based on adjustments recommended by SoapCalc.
Here are my thoughts: This soap turned out a bit softer than I prefer. I like harder soaps because they last longer. Even with additional extended cure time, this soap is still rather soft. You could take a bit of a lye discount, by reducing the water by .25 to .50 ounces, but I haven’t actually tried this.
If you want to see my favorite soap recipe of all time, take a look at How to Make Your Own Soap. That recipe never ever fails, and it’s perfect in every way, in my opinion, of course. ;-) This gardener’s soap, however, was not a disappointment either.
This Gardener’s Soap recipe makes a good exfoliating bar, and I love the herbs I used in it! It smells delightful, and it’s lovely for your skin!
Let me know how your soap making goes! Leave comments in the comments section!
You might also enjoy these related articles:
Chamomile Infused Natural Soap
And there are a TON more over on the blog! Head on over and browse around for more soap recipes and articles on herbalism and self-reliance.
Hugs, Health, and Self-Reliance,
Heidi
P.S. Get the newsletter and never miss a thing! You’ll also get immediate access to the Resource Library, where I have all kinds of downloadable and printable eBooks, guides, checklists, and more for your self-reliance journey, including several soap making resources!
This homemade soap recipe is perfect for gardeners! It’s got exfoliating power from pumice, and since it’s hot process soap, you can use it or gift it quickly. This natural herbal soap smells just naturally beautiful, too, as it’s scented with pure essential oils. #soap #recipe #making #homemade #natural #handmade #forbeginners #easy #hotprocess #forgardeners #green #herbal #healingharvesthomestead


